Wednesday 20 December 2017

Natural wreaths

Following on from my last post showing how we made the wreath bases, I promised to add a few photos when we had finished decorating them. We prefer the natural look and usually prune a little overgrown greenery from our gardens to decorate with, which has the added bonus of being completely free.


This is our front door wreath, as you can see it has a completely green and natural look. I have used clippings from holly, ivy, pine and added a few pinecones. Some twigs have just been woven straight into the twig ring bases and some things, mainly the pinecones, have been wired on to hold them still.


I have also made a few very simple ones to add to the back of some of our internal doors, as you can see I have woven in a small piece of pine and stuck a couple of pinecones on with a hot glue gun. I'm not sure yet whether to add a little snow spray.

These ring bases can be decorated as elaborate or as simply as you choose and the bases can be kept and used year after year with a new decor each time. Very simple, very quick and very thrifty.


Sunday 17 December 2017

Twig wreath and star bases


Following on from our theme of thrifty or free homemade Christmas / yule decorations we have been making the bases for our wreaths and stars. As keen gardeners we tend to save any useful looking clippings and my husband had recently pruned our cherry tree which has beautiful reddish tinted bark, so we set to work creating the bases to woven wreaths seen above.


This is the pile of twigs I started with... when freshly cut, the twigs are still very pliable and can quite easily be bent and twisted into shape. To form the rings I first took one stick and bent it into a ring shape, then held it in place with one hand whilst intertwining the next stick around the ring. This is quite fiddly and it is possible to tie the first stick into a ring shape if you'd prefer but I always find that once you've woven in a couple of sticks it holds it's shape by itself.


Once it holds it's own shape you can then decide on how many sticks to weave in, you could go for a simple ring with just a few sticks or something much thicker and more substantial.


 We have gone for something in between as you can see in our first photograph... all ready to decorate for the season now. These bases have cost us nothing to make just using a few clippings from the garden and a little time, I usually decorate our wreaths with the natural look of fresh holly, ivy and pinecones from our gardens.

The stars are also easily made from twigs, cut five to the same size, lay them out in a star shape and tie off the corners. These can also be decorated to fit your decor.

I'll be back to post a couple of photos to show you the finished results when the wreaths have been decorated. After Christmas / Yule these wreath bases can be saved until they are needed again, I usually strip them back of all the fresh foliage and pack them away ready to be redecorated on their next outing.

Wednesday 29 November 2017

Pine Cone Garland

I recently posted some photographs of our pine cone garlands on social media and was inundated with questions on how to make these and many people commented on how beautiful the finished garlands looked. So I have decided to post a little guide on our very thrifty and natural Autumn, Yule or Christmas garland decorations.


My husband and I decided over 12 years ago that we would embrace thrifty living... no more shop bought decorations for us!!... Everything we wanted we would make as thriftily as possible. Not only has this saved us so much money, unpacking our lovingly, handmade Christmas decorations every year holds so many memories.

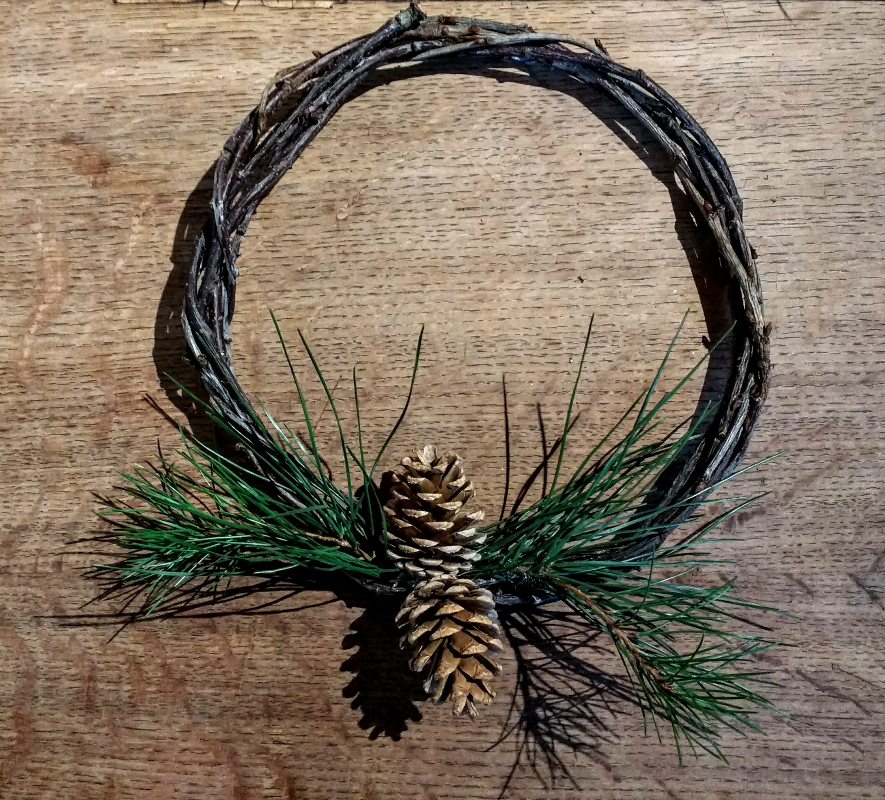
I absolutely love the simplicity and natural beauty of these pine cone garlands, the one above was made for Autumn but I also have one that was made for Christmas a few years ago which has a few more sparkles.


First you will need to collect some pine cones, we usually grab a few throughout the year as we find them. The amount of pine cones you need will depend on the length of garland required, I'm using seven for my mantle piece. I usually leave them outside for a little while to ensure that any critters safely leave the pine cones.


To make the fixings we are using screw eyelets, they are really cheap only a few pence for a bag. I have managed to screw these directly into the end of the pine cone by hand but it is a little fiddly, so if you need help starting your hole, a very thin drill bit may give you a start.


 Next just thread your pine cones onto your chosen string or ribbon, we are using natural jute string here but ribbons work just as well and there is less movement of the pine cones. You may notice if using string that all the pine cones slip to the middle when you try to create a swag in your garland, you could tie them on to keep them still... but I have another remedy for this...


A little trick which allows you to easily fix them in place but still allows them to be movable if you need to change the position of a pine cone. Thread the string through your eyelet and then thread it through again, as seen in the above photo... so you create a loop.


This simple act gives your pine cone a little more resistance so that you can move it but it doesn't slip down the string.

These garlands can be kept natural or decorated for Christmas with a little glitter, paint or fake snow... the best part is it has literally taken a few minutes and cost a few pennies to make, and this beautiful garland can be reused every year.

Thursday 26 October 2017

Grape Cordial

This year we have been blessed with a bumper harvest of grapes from our vines, and as our house operates as close to zero food waste as possible, it has meant a lot and I mean LOT of preserving.


My husband has started a huge batch of wine, I had already made grape jelly for the winter and we were still being inundated with grapes and the prospect of more ripening by the day. So we opted to make some grape cordial for the children to enjoy in the autumn sunshine and any extra could be frozen for over winter treats.


First we washed our grapes and put them into a large pan, now I didn't use a recipe or weigh my grapes as I had so many but as a general rule with cordials if you use 2 kilograms of grapes add 1 litre of water, approximately half fill the pan in proportion to the grapes. Bring to the boil and simmer for around 10 minutes using a masher to release all the juice from the grapes.


Leave this to infuse in the juices and cool for a little while then strain the mixture through a jelly bag, cheesecloth or muslin to ensure all pips and grape skins are removed. This will leave you with a dark purple liquid.

At this point it is best for you to taste your mixture to see how much sugar you will need to add. Our grapes are not dessert grapes so they are really quite sharp, usually with cordials I add half the amount of sugar to finished liquid product. This means if your strained liquid is 2 litres you may need to add 1 kilogram of sugar.

Return your grape juice to the pan and heat to dissolve the sugar, it is wise to add the sugar a little at a time so that you can stop when you find it sweet enough for your taste buds, this will also depend on how sweet your grapes are too. Bear in mind this is a cordial so it will appear a little syrupy and the mixture will need to be diluted with water to drink.


Once the sugar has dissolved you can bottle up in your sterilised bottles or decant into freezable bottles to store.

We have actually made three large batches of this cordial now, and stored many litres in the freezer for Christmas and the winter season. It can also be diluted with sparkling water or lemonade if you fancy a change from still juice. The children are looking forward to a glass with their dinner over the festive season.


Friday 21 April 2017

Education update April 2017

The children have been very busy and involved in so many projects that it would be a very long post if I included it all, so we have picked a few of our favourite things to share with you here.


After seeing pictures online of the many sock toys made by other people they made a plan to recycle some old socks into these cat plushies. I'm very proud to say that all the little sewing projects I had given them over the years must have paid off as they pretty much completed this project by themselves.


My eldest daughter's cat brought her a surprise one morning... a pile of frogspawn!!  We have no idea how the cat carried these in but in an attempt to try and save the eggs she brought them round to us. We are pleased to announce that many of the eggs are now wriggly tadpoles, this has made an excellent nature project for my youngest children and given them the chance to study the life cycle of a frog at very close hand.


We have joined the Woodland trust's project to plant more trees, with great success as we already have many little trees coming up from our packet of seeds. This project has coincided with all the seed planting we do every year to grow our vegetables on our allotment, so it has been very busy.


The latest science project the children have been studying is sound, vibration and wavelengths. We have completed many experiments including a tin can telephone, balloon noise and the above experiment to see the sugar move on the cling film by the sound vibration alone.


We have also tried to recreate how the wavelengths looked on an oscilloscope by using a really long piece of cord and moving our hands either fast or slow as seen above, until it looked the same as a given noise.


 My daughter wanted to try some new recipes in the kitchen, sticky toffee squares were one of her new experiments... and very tasty they were too. We have also been eating some of the early harvests from the allotment, so far this has been asparagus and rhubarb.


Another science project has been about light, this led to an art project involving stained glass windows to really brighten up the house. The children's sports club started up again this week for the summer now that the weather is improving which has been keeping us extra busy, along with the building of a new poly tunnel at the allotment with the hope of allowing us to grow extra vegetables.

 Will update very soon with some new projects and updates on the ongoing ones like the tadpoles and baby trees.

Friday 20 January 2017

Happy New Year 2017

Just a quick post to wish you all a belated happy new year, I hope you have got the year off to a good start. We have all been quite poorly with the flu over the Christmas season so were out of action a little bit and everyone has been resting up well to recover, however we are definitely much improved now. I hope you all had a wonderful Christmas season.


The children have spent their recovering time enjoying all their presents including the many games, lego sets, education sets and craft kits to learn and complete to name a few things. They have also been catching up on some very interesting documentaries and are currently enjoying the royal institute Christmas science lectures.


I was able to make good use of the elderberry syrup made earlier in the year as we all had the flu and it has been lovely to enjoy all the homemade and home grown produce over the Christmas season. This year we made our own pickled onions grown by my husband at the allotment, these tasted absolutely amazing and we will definitely be making them again. Our redcurrant jelly also went down well.


The new year is bringing exciting projects and new challenges, we are expanding our plant collections and planting many more interesting things from seed. For me this means extending my cactus and succulent collection and starting off these new seeds when the weather warms up.

So as you can see we are still here and I hope to be resurrecting this blog more as time goes on, adding more crafts, science and other learning projects with an added taste of our lifestyle too... Happy New Year from our whole family at Lightly Enchanted.