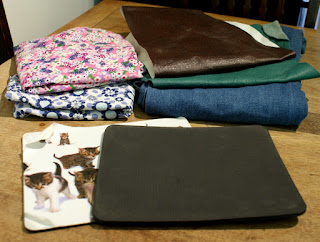
Firstly, finish peeling the top layer from the mouse mat if you need to, as we have chosen to reuse the rubber bottom layer for this very simple craft. Next choose your top layer and test out the fabric to see if your mouse works well on the surface. I have decided to use a faux leather as this mouse mat is for father's day but any scraps of leather or thick fabric would work well. You could even use a fabric that had a photograph printed on it if you wanted a personal touch.
Cut out a rough shape slightly large than your mouse mat as it's easier to cut it to the exact size after glueing. If using a porous fabric you may want to test a small patch to see how the glue dries before starting your mat.
We have used a latex based glue for this project to give a better flexibility. Paste a small amount of glue to each side you want to stick and wait a few seconds to allow to go tacky.
Stick both sides together, ensure there are no creases and press down firmly, then allow to dry completely.
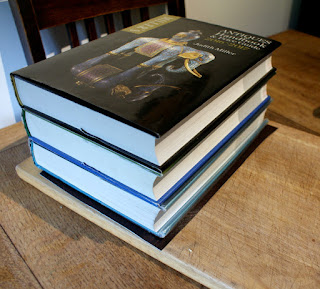
We left ours to dry for a few hours underneath some very heavy books, this ensures your mouse mat dries totally flat and has no lumps, bumps or creases in.
After the mouse mat is dry you can cut around the edges as neatly as possible also ensuring the corners are rounded. Scissors or a craft knife will work well but we have used a rotary cutter as this cuts fabric very neatly with one quick motion.
As you can see the completed mouse mat is now taking shape, the faux leather has given the mat a very professional look. It will look perfect on any father's desk either at home in the study or in his work office.
There we go all finished, the mouse works perfectly and because it is much stronger than the ones we usually buy it shouldn't suffer from peeling any more.
If you would like to personalise your mouse mat further you could emboss it or try out some metallic permanent markers and a quick spray of lacquer to ensure it doesn't come off. It may be best to add details to a top corner so that it doesn't interfere with the mouse functions in any way.


No comments:
Post a Comment